On the 9to5 Mac website today I saw a tip on using the new document scanner that is available in the Notes app on iOS 11 so thought I would share as this could be very useful for some iPhone/iPad users.
This will show you how to add scanned documents to notes and also how to just save/share the scanned documents without them being attached to a note.
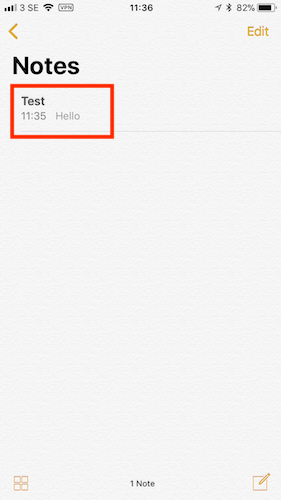
- Open Notes

- Select a note or create a new one
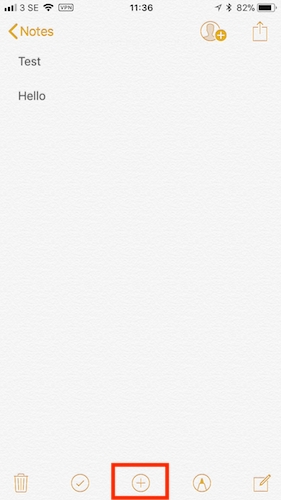
- Select the '+' button at the bottom of the screen
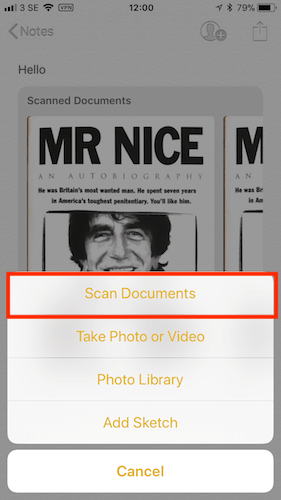
- Select Scan Documents
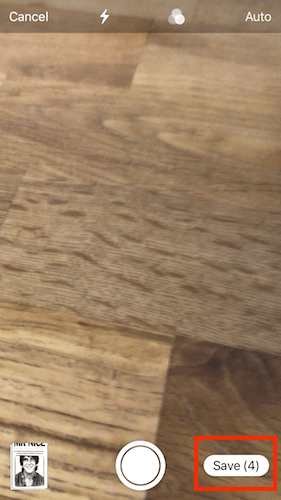
- If the document you want to scan is placed on a surface that is darker than it then you will see a yellow layer appear around the document and it will automatically take a scan of the document for you. You can also press the shutter button which will place edges around the document that you can resize the image if you only want a certain part of the document to be sent

- Edges that can be resized
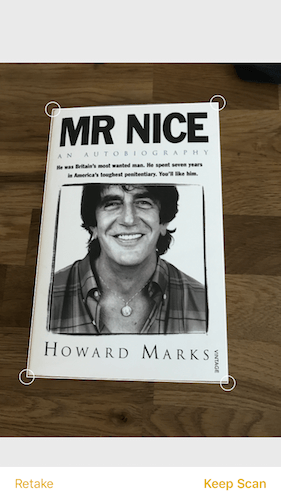
- When you have what you need select Keep Scan

- On the next screen select Save to save your scanned documents
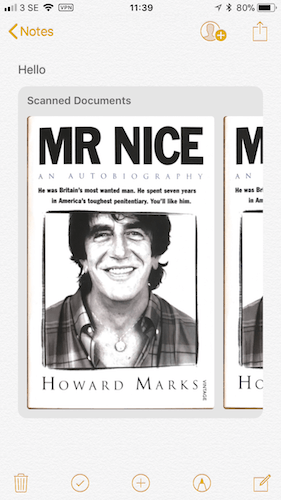
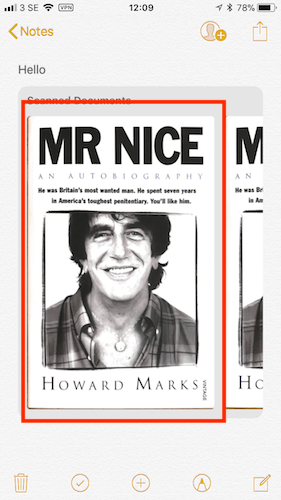
- You will now see the scanned documents are attached to your note
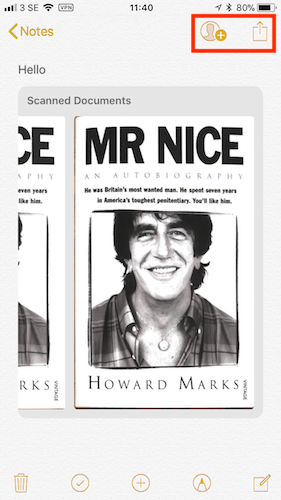
- You can now select either Share the Note or Add People to the Note (you can also just share the scanned documents which I will show how to do further down in the guide)
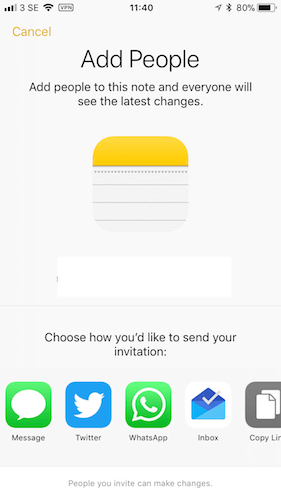
- If you select Add People then you will see the screen that allows you to choose which way you want to send the invitation
- If you select Share then your Note along with the scanned documents will be sent via whichever method you choose
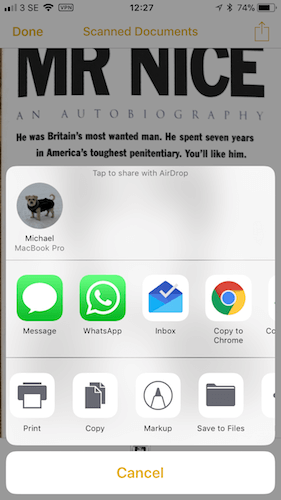
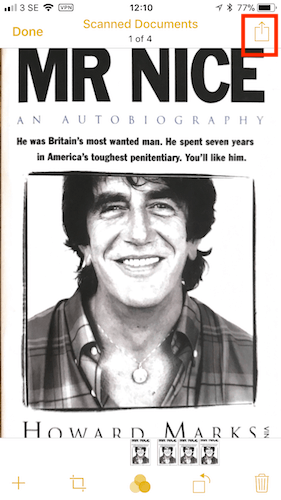
- If you only want to share the scanned document you need to do the following. Press on the image of the scanned document in your note
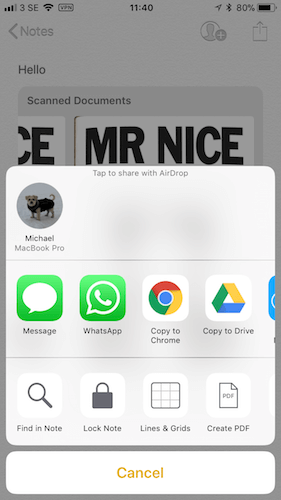
- Select the Share Button
- You can now choose how you want the document to be shared. You can also save it to your own files so you can access the scanned document from the new Files app in iOS 11