
Here is an easy to follow guide for installing Android 16 on your Raspberry Pi 5. It is unofficial and unsupported by the LineageOS team. It’s for advanced users only.
I recommend following the Lineage 17 thread on the Konstakang website which is here. There you can find more details on installing TWRP and Gapps
Items Required:
- Raspberry Pi 5
- Case
- Power supply
- MicroSD card (8GB+ Recommended)
- HDMI cable
- Monitor
- Internet connection
- keyboard & mouse
- Image mounting software like Etcher
How to Install Android 16 on RPi5
- Insert SD card into your PC/Mac and format if necessary
- Set your RPi up: Add keyboard and mouse (you can get cheap wireless ones online), connect to monitor, plug in power supply, add ethernet connection, you can also use a wifi dongle and connect later
- Download and install Etcher (no need if you already have it or other image mounting software installed)
- Download Lineage 23 from here - 782MB download - (sha256:ff725bb331780c94fc4998168fbc3246eaebb49a2c7bf28ae96947f426eb08fe)
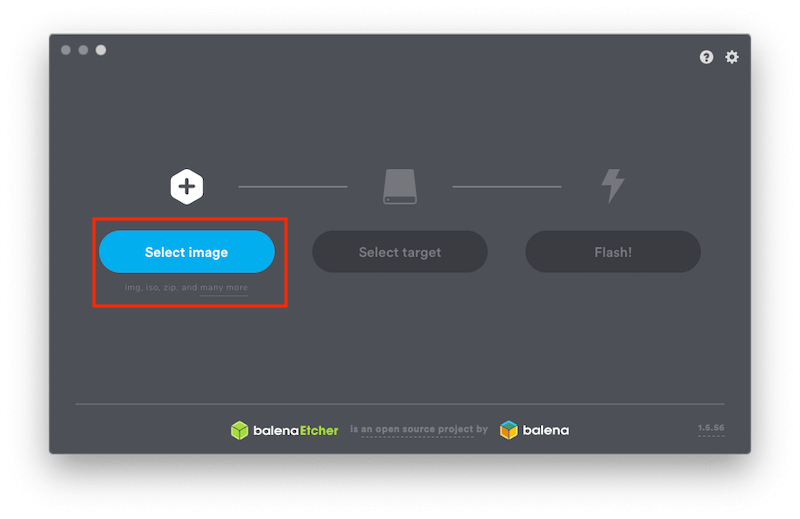
- Open Etcher or balenaEtcher as it is called in your applications
- Select Select image
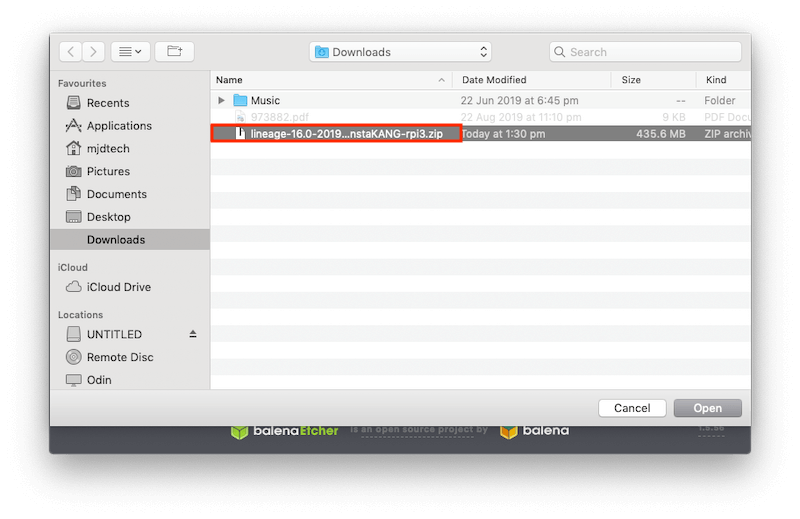
- Navigate to the zip we just downloaded lineage-23.0-20251007-UNOFFICIAL-KonstaKANG-rpi5.zip and select it
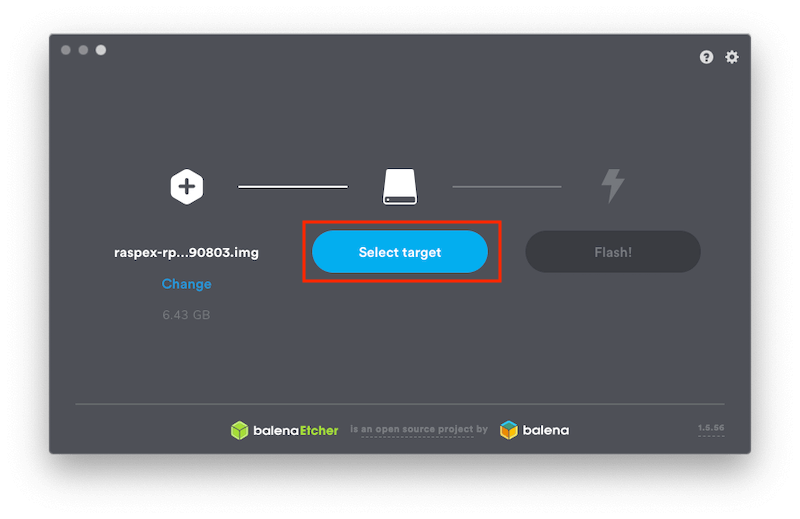
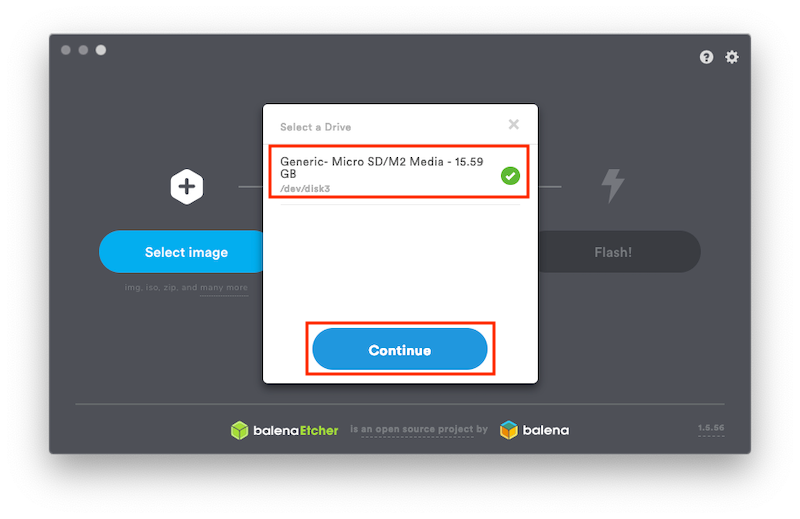
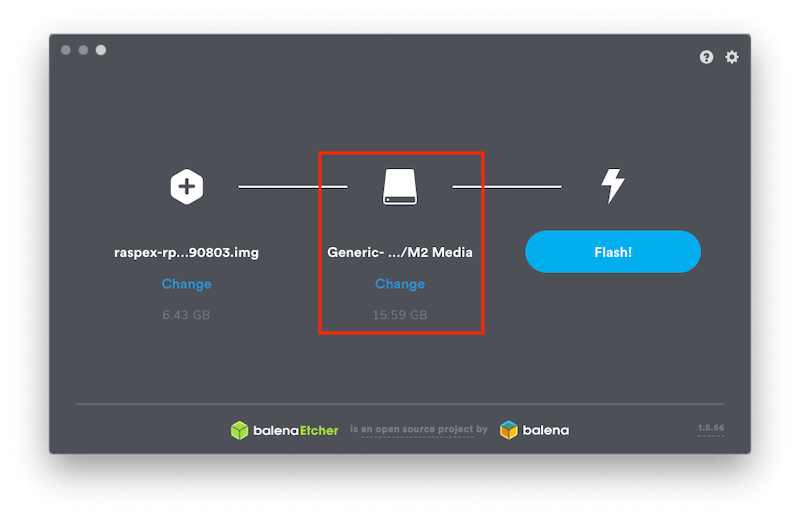
- Etcher is pretty smart so it should pick up your SD card. If it doesn't click on Select target, select your SD Card and then select Continue. You can also click on Change here if it has picked up an incorrect card
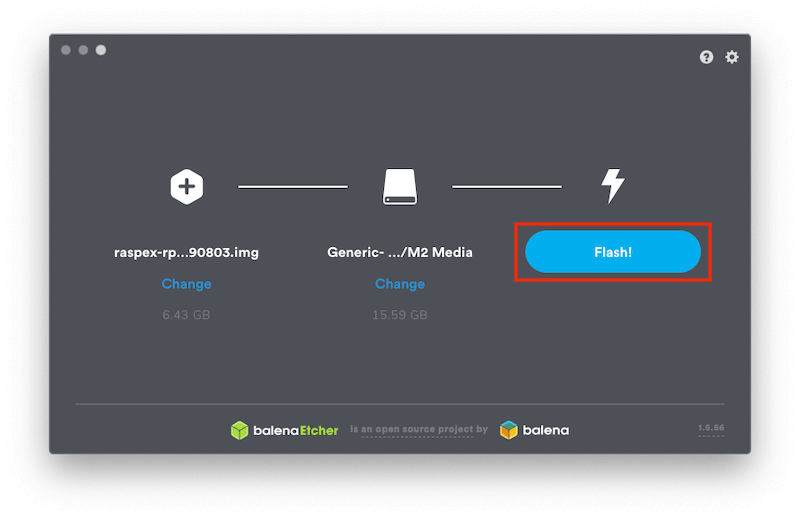
- Now select Flash and let Etcher do its thing (should take around 10 minutes)
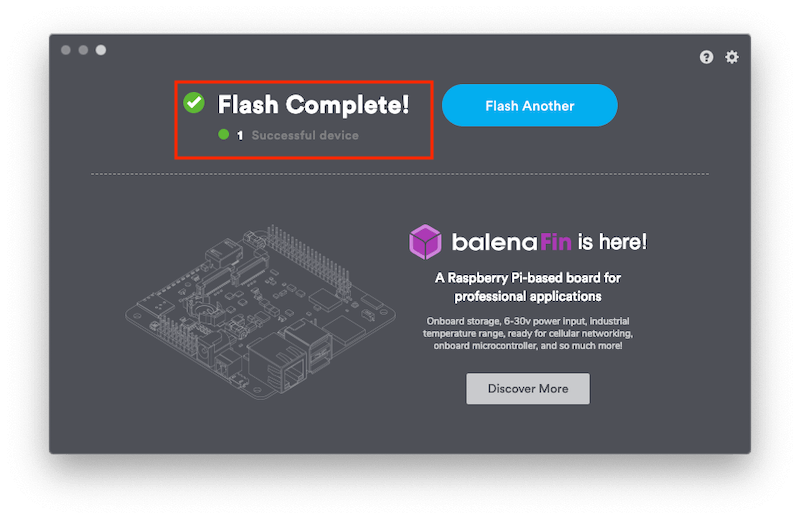
- If the flash is successful you will see the following message Flash Complete - 1 Successful Device. You can now safely eject the SD card from your PC/Mac
- Insert the SD card into the SD slot of your RPi. Plug your Pi in and connect it to your monitor.
- You will now see the Lineage loading logo followed by a screen with the NEXT command. Click on NEXT
- Select your language and select NEXT
- Adjust your Time Zone settings and select NEXT
- Connect to WiFI if you aren't using Ethernet and select NEXT
- Check permissions and select NEXT
- Check LineageOS features and select NEXT
- Now setup a PIN if you want
- Select START on the next screen
- Lineage 20 (Android 13) is now setup on your Raspberry Pi 4
Get yourself a VPN to help improve your privacy, protect your identity online, stop your ISP from gathering information about you, increase device safety whilst connected to public and insecure networks and stream content anonymously from anywhere in the world. Use the link below to find good deals from NordVPN.

