The guide below will show you how to install RaspEX on a Raspberry Pi. I am using an RPi 4 (4GB) but it will also work on RPi 4 (1&2GB) 3/3B+, and 2. If you are installing just to use Kodi then the lower versions are fine but if you really want to get more out of this then the RPi4 4GB is highly recommended. If it is just for Kodi then the lower versions are fine. But this is a great way of making a cheap home computer.
RaspEX Kodi is based on Debian, Raspbian and Kodi Media Center. In RaspEX Kodi the dev has added the LXDE Desktop with many useful applications such as VLC Media Player and NetworkManager. This makes it easy to configure your wireless network. The dev has also upgraded Kodi to version 18.3 "Leia", which makes it possible to include useful addons such as Netflix, Plex and Amazon Video.
Items Required:
- Raspberry Pi (Raspberry Pi 4 recommended)
- Case
- Power supply
- MicroSD card (8GB+ Recommended)
- HDMI cable
- Monitor
- Internet connection
- keyboard & mouse
- Image mounting software like Etcher
How to Install RaspEX Kodi:
- Set your RPi up: Add keyboard and mouse (you can get cheap wireless ones online), connect to monitor, plug in power supply, add ethernet connection, you can also use a wifi dongle and connect to the internet by clicking on the network symbol top right when RaspEX is installed
- Place your microSD card in your PC/Mac as we need to install the image to this later
- Download RaspEX Kodi (2.3GB Download)
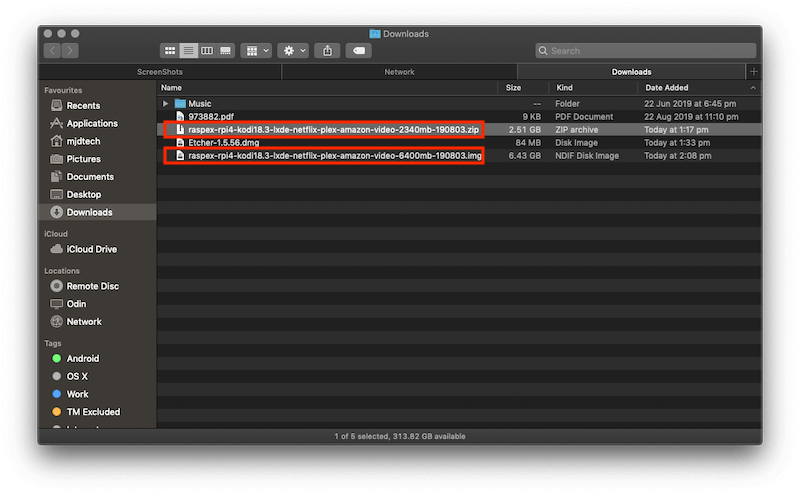
- Unzip the RaspEX Kodi file so you have a .img file
- If you don't have any image mounting software then download Etcher
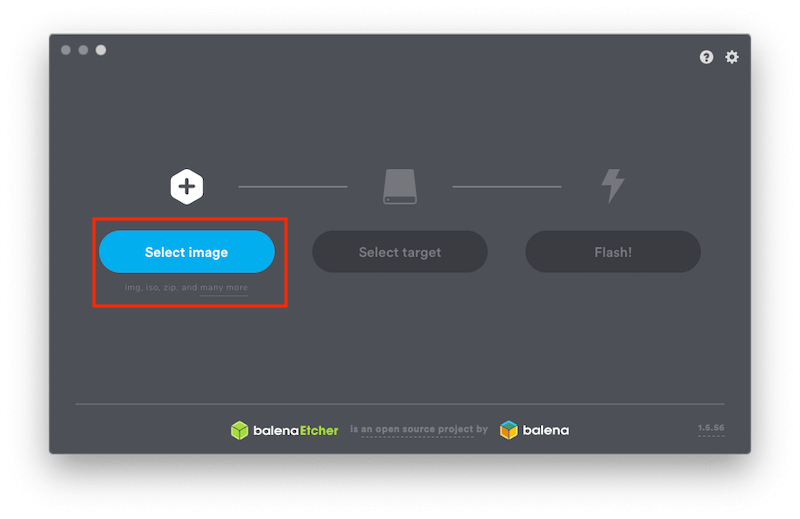
- Install the version of Etcher you have just downloaded, open it and select Select Image
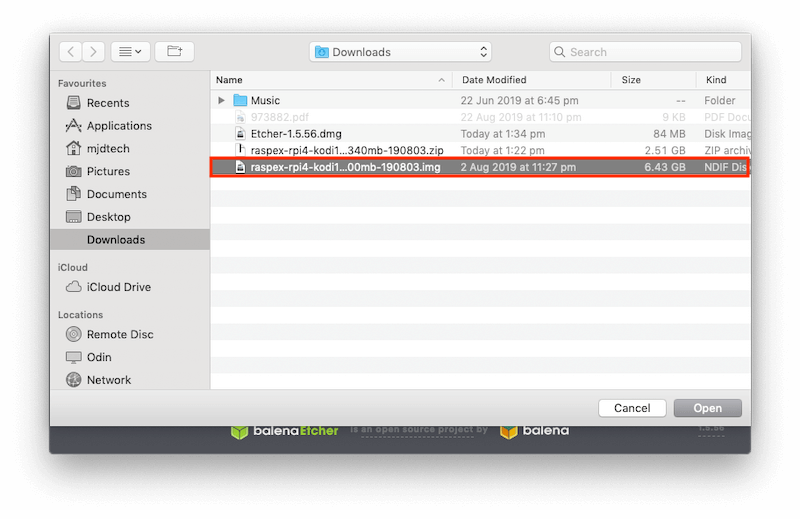
- Navigate to where you extracted the RaspEX Kodi .img file and select it
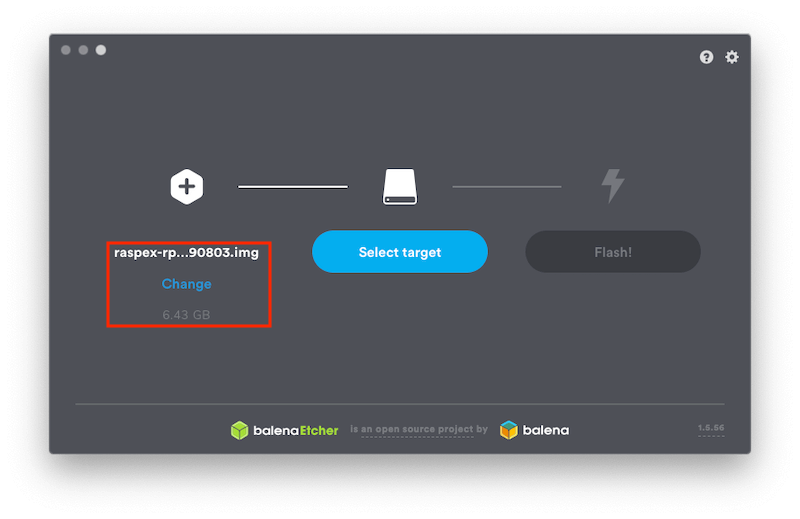
- Etcher should now show details of the image file.
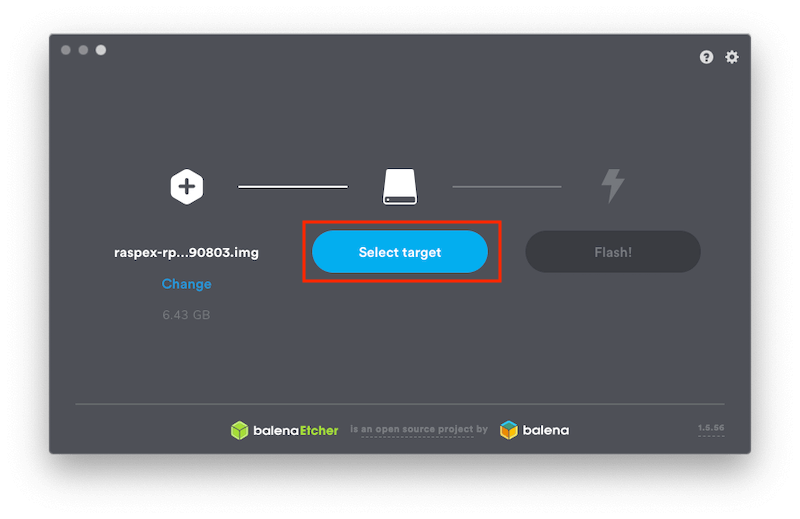
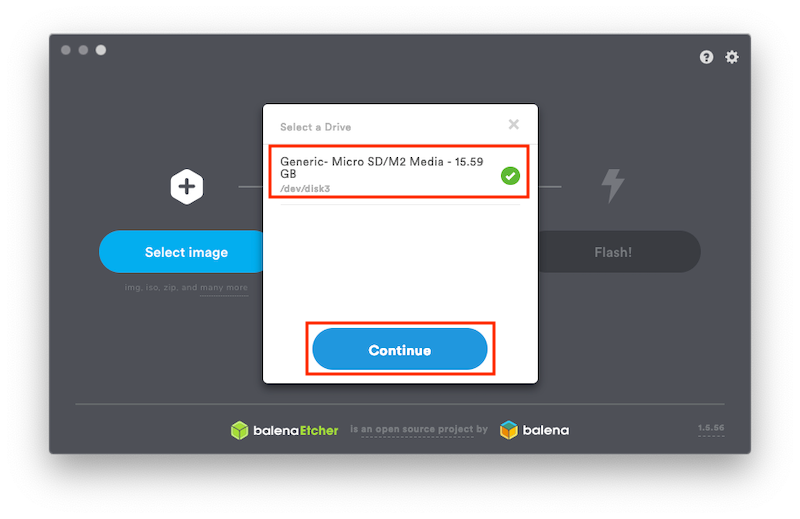
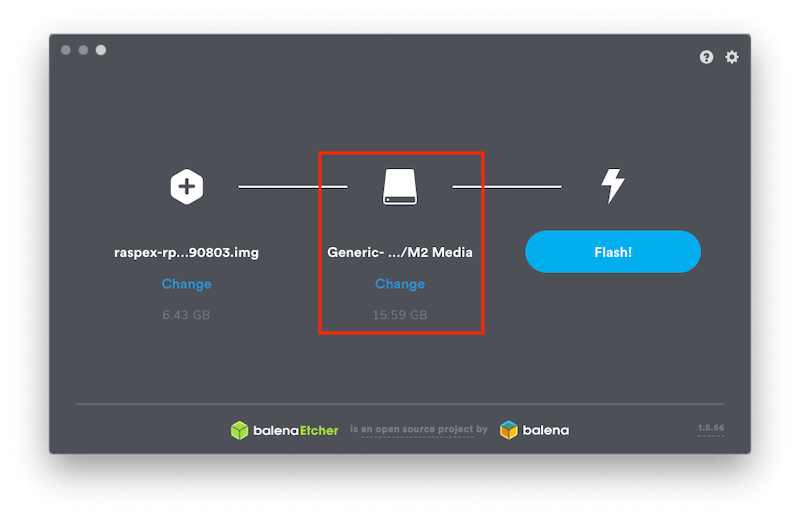
- Now select Select target and then choose your microSD card and select Continue. You may not need to do this as Etcher may have already detected your card. You can also click on change here if it has picked up an incorrect card
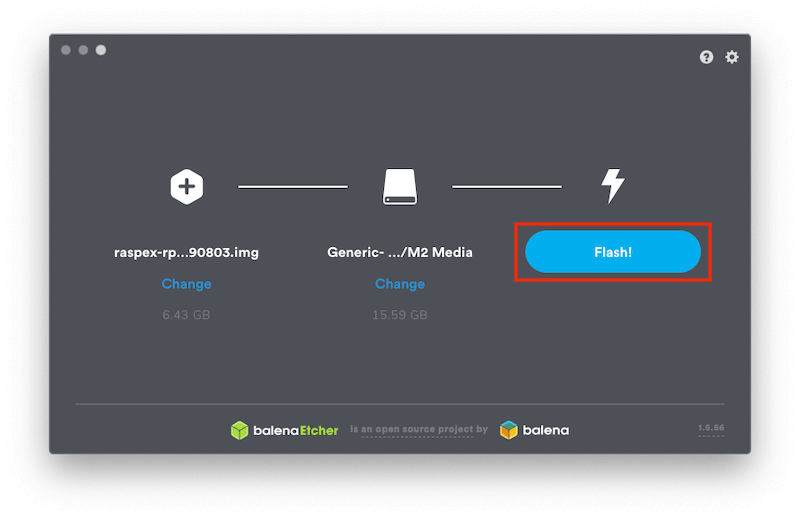
- Now select Flash and let Etcher do its thing
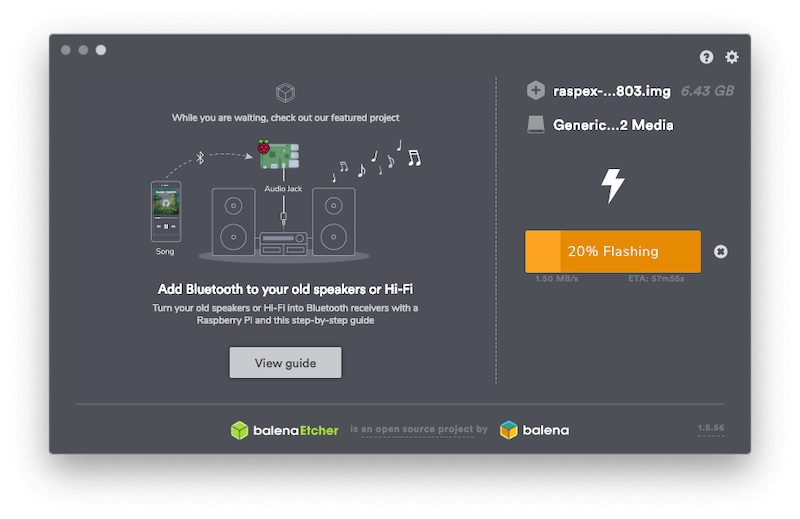
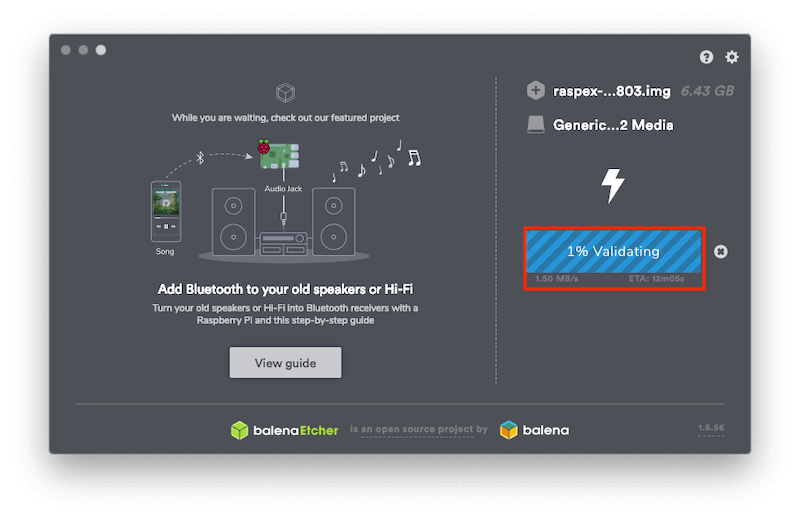
- The install will probably take an hour or so. So go and pour yourself a tipple, take your dogs for a walk or do something else you enjoy whilst it flashes. Once flashed Validation of the file will begin to ensure everything is ok
- If completed correctly you will see a message saying Flash Complete - 1 Successful Device

- Now eject the microSD from your computer and place it into the microSD slot on your RPi and the installation will begin and then you will see the RaspEX desktop. You can now begin using it as a desktop computer or get Kodi up and running