
The guide below will show you - in minutes - how to install LibreELEC with Kodi on your Raspberry Pi. This allows you to have a great little home media center that runs Kodi so you can stream any content you have on your home network direct to your TV through a very cheap and reliable device.

Requirements:
- Desktop/Laptop running: Windows, macOS or Linux
- RPi (0/1/2/3)
- Power Source for Pi
- MicroSD Card (8GB+) and a microSD Card Adaptor if your computer doesn't have a microSD slot
- HDMI Cable
- USB/wireless Keyboard or remote control with wireless dongle (you can get these dirt cheap on eBay or Amazon.)
- Monitor
- Casing to keep RPi safe
- Setup your RPi (case, wireless dongle for the keyboard - don't put the power cord in yet)
- Place your microSD Card in your computer
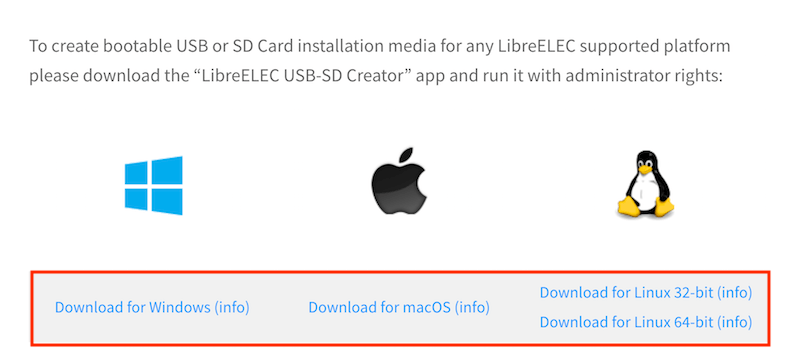
- Go to the LibreELEC Downloads page and download the "LibreELEC USB-SD Creator" that is applicable to your OS. This is currently available for: Windows; macOS; Linux.
- Install it to your computer
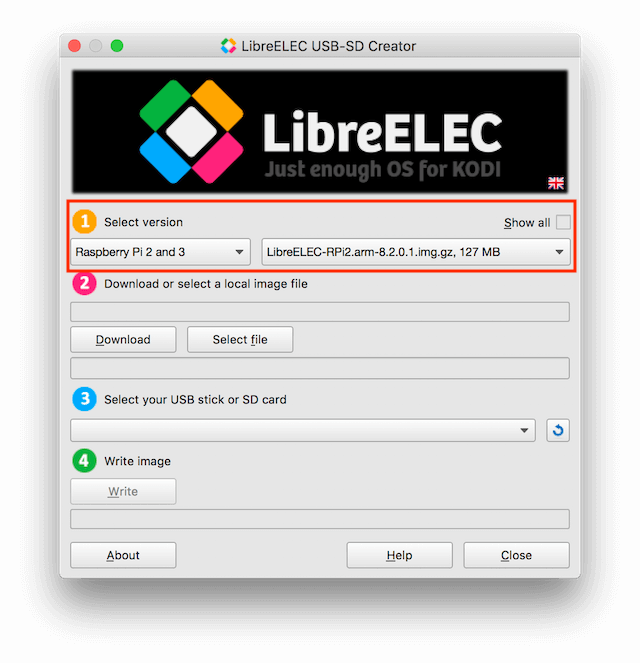
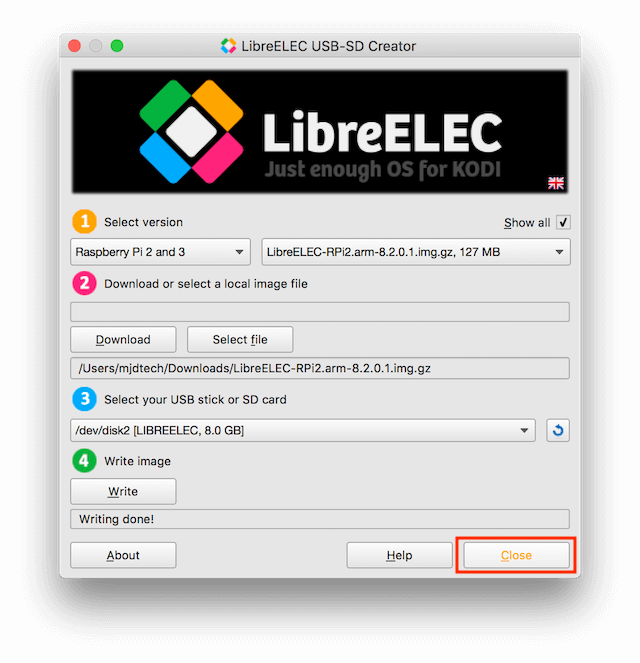
- Now open the installed LibreELEC USB-SD Creator
- In the main screen select:
- The version of the Pi you are using
- The latest img.gz file
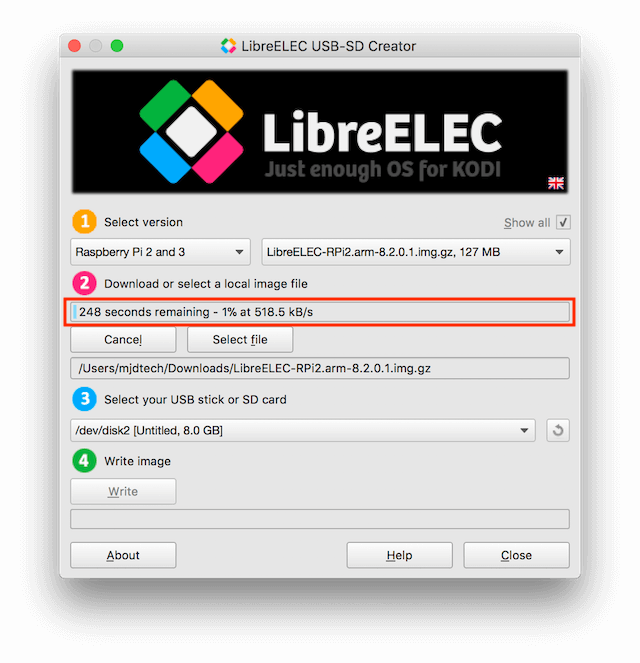
- Select Download
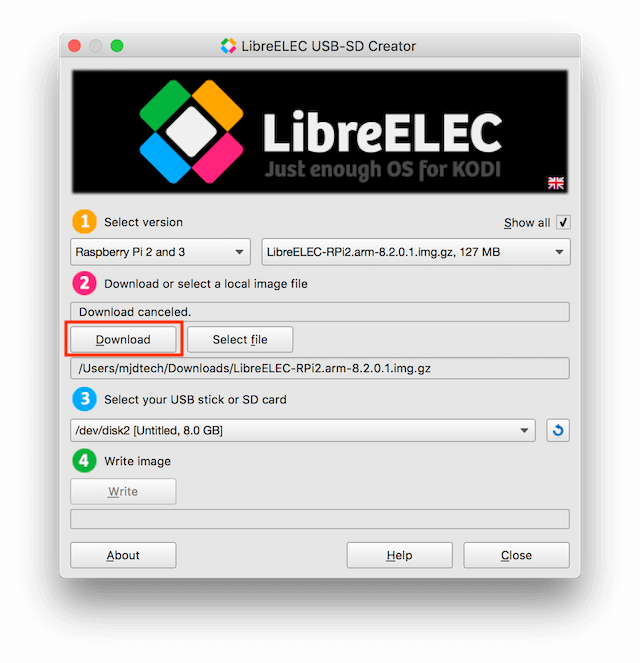
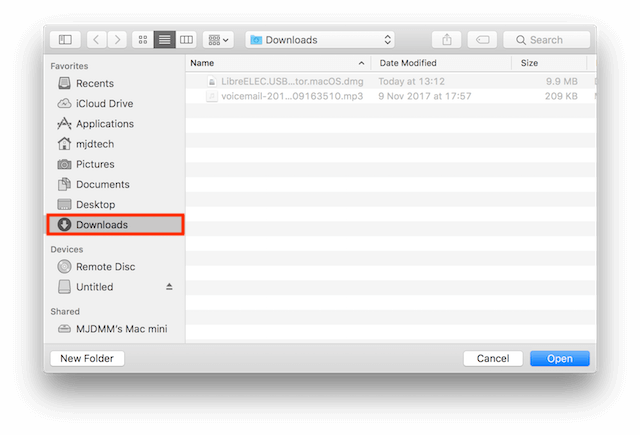
- Select the location you want the file to download to
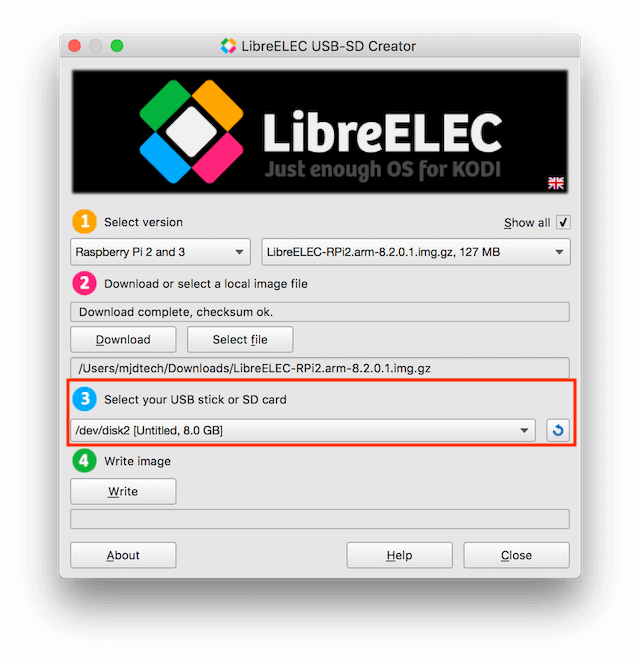
- The file will now start to download. Wait for the download to finish
- Select the microSD Card you want to use
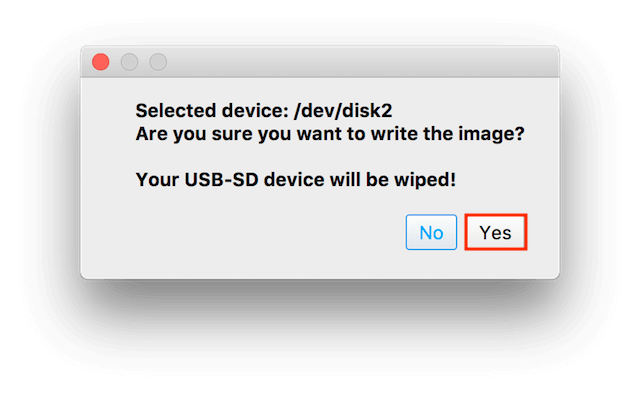
- Select Write

- Select Yes
- Wait for the file to be written
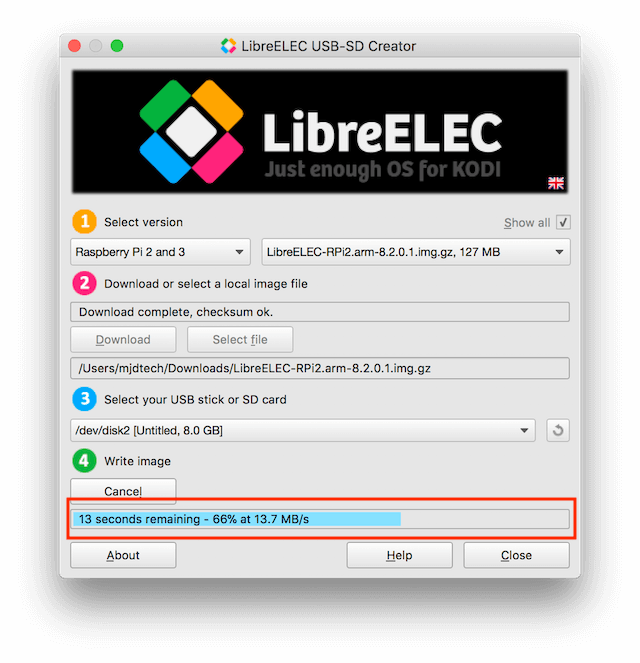
- Select Close when writing has completed
- Safely eject your microSD Card
- Place the microSD Card in the microSD slot in the RPi
- Plug the RPi in
- That is it. LibreELEC will now boot straight into Kodi. Follow the setup wizard and you will be good to go
