If you have updated to MacOS Mojave there is a great little feature that may be of use to some - Continuity Camera. This feature allows you to take a photo on your iPhone and then insert it immediately into any app on your Mac running MacOS Mojave.
Continuity Camera is a feature that currently works with with Notes, Mail, Messages, Finder, Numbers, Pages, and Keynote. Hopefully third-parties will start adding the to add this functionality to their apps too.
So, how does this feature work?
- Open an app like Notes.
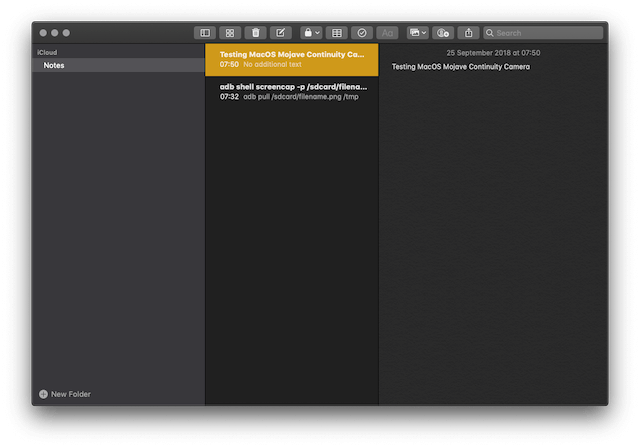
- Select the document you wish to insert the photo into
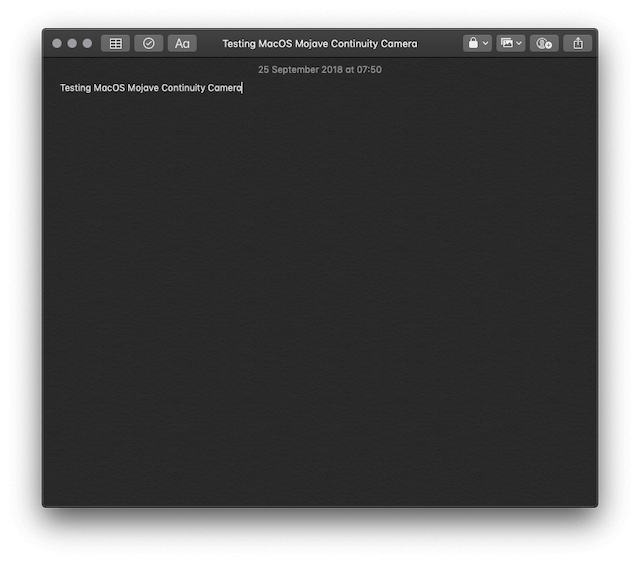
- Click on File in the menubar (top left)
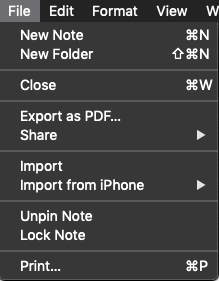
- Select Import from iPhone. You will now have 2 options: Take Photo; Scan Documents. So if you want to scan a document you would select Scan Documents and if you wanted to just add a photo then you would select Take Photo, yes I know that was self explanatory, sorry.
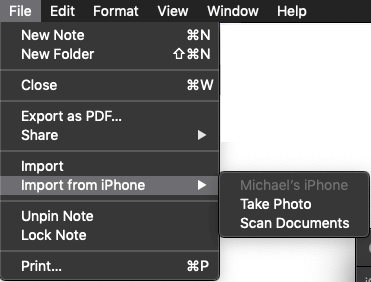
- You will now see a popup in the app you are inserting the document/image telling you to scan document or take photo
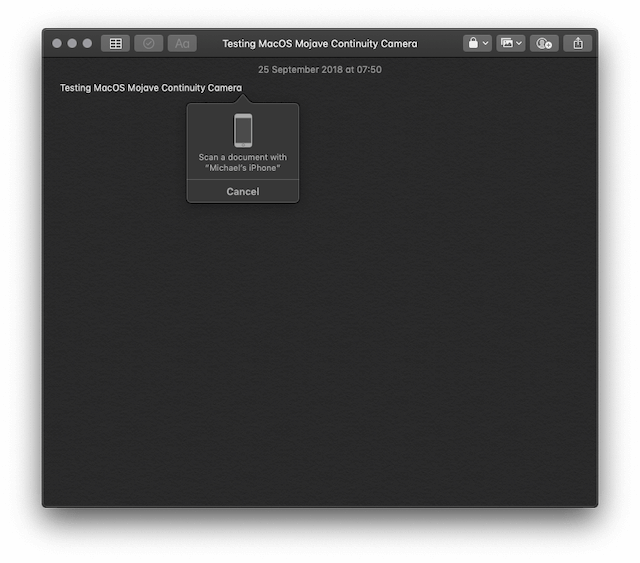
- No matter which you click your iPhone will open and you will have the chance to scan a document or take a pic.
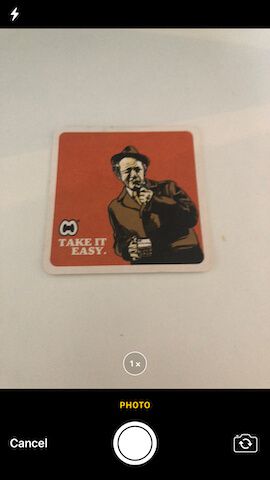
- Do the action you need to do and then if it looks good select Use Photo or Retake if you're not happy (if using an image) - If you select Scan Documents they will automatically scan into the document. The document/image will now appear in the app you are using.

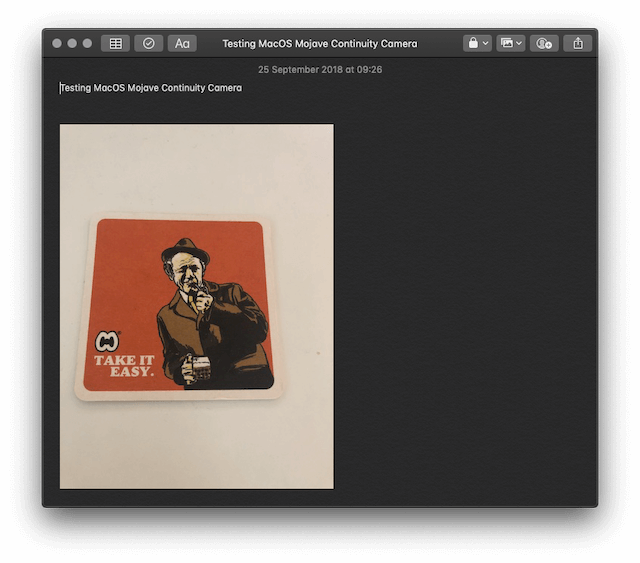
I really believe this will become a really handy feature for some.

