Here is a relatively easy to follow guide on changing the DNS settings on your Fire Stick or Fire TV Cube.
- Make a note of your Router's Wi-Fi password
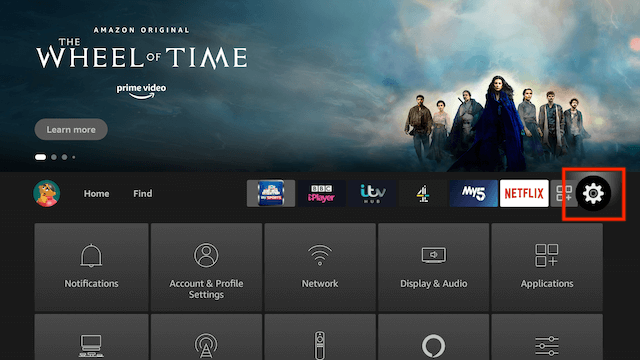
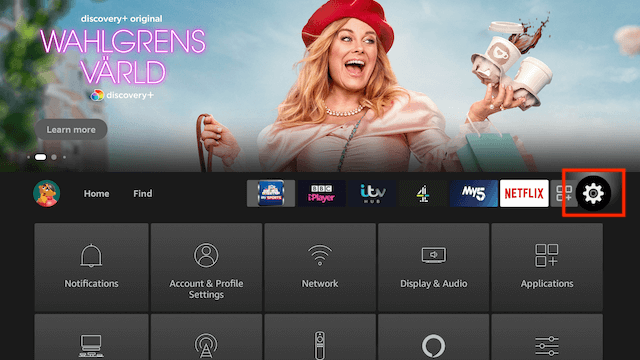
- From the Home Screen of your Fire Device select Settings
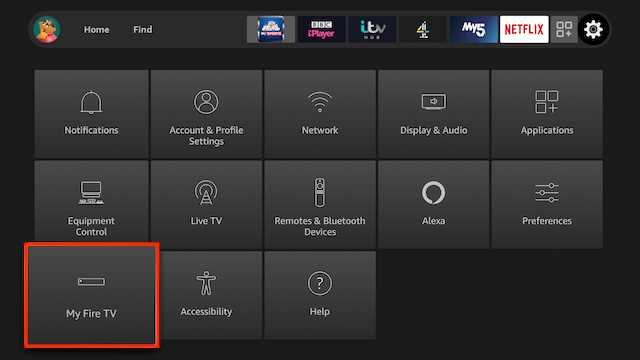
- Select My Fire TV
- Select About

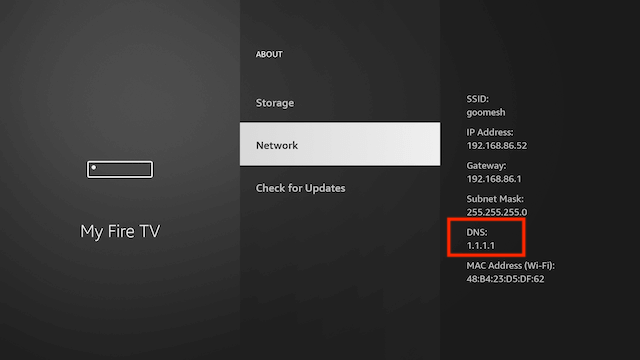
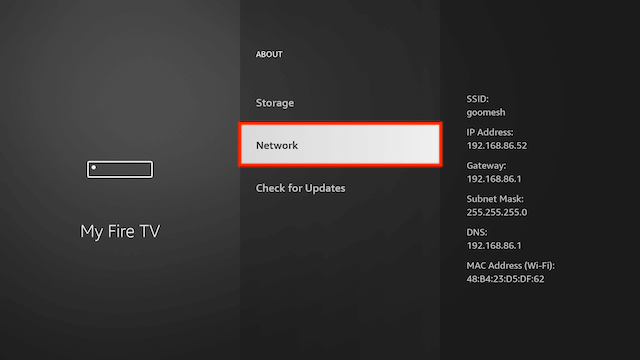
- Select Network
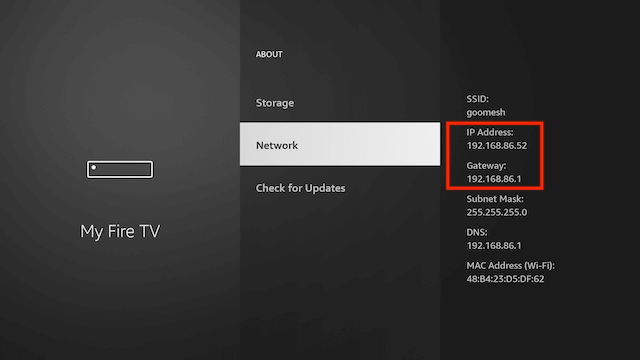
- Make a note of the IP Address & Gateway
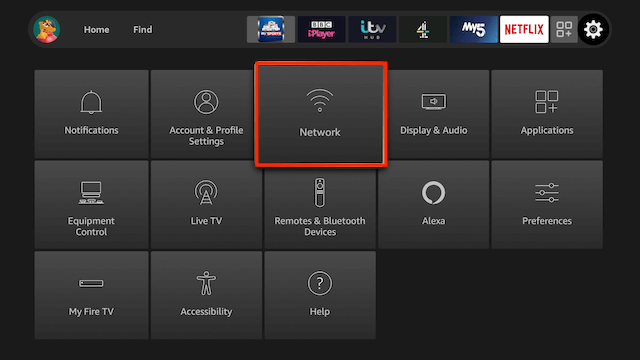
- Go back to your Home Screen & select Settings
- Select Network
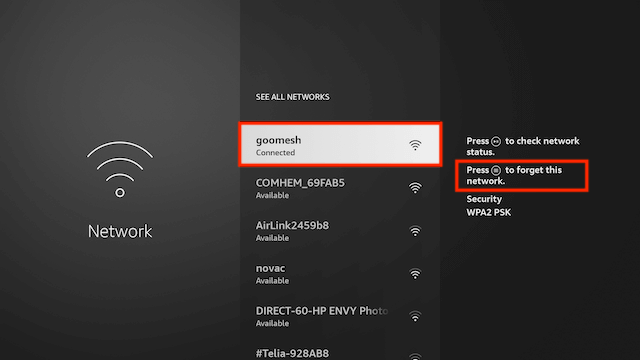
- Now highlight your WiFi network & hit the Three Line Button on your Fire Remote. This is going to make your Fire TV device forget your Wi-Fi password so that is why we made a note of it in the first step
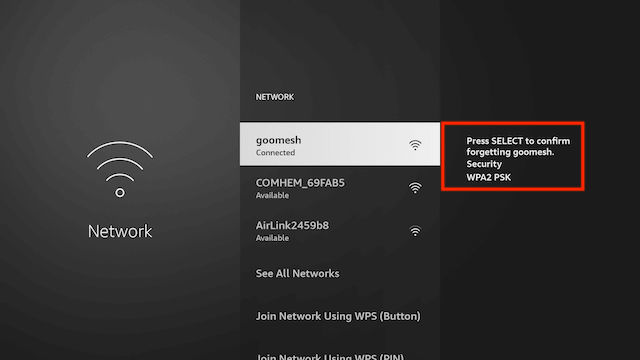
- Press the Select Button (middle round button) to confirm you wish to forget the network
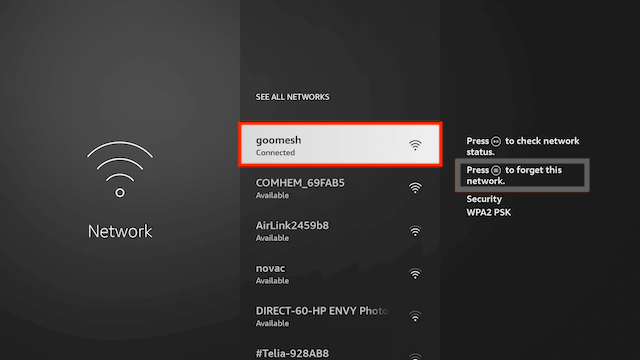
- Now select your Wi-Fi network again
- You will now be asked to input your Wi-Fi Network password. So enter it and then select ADVANCED

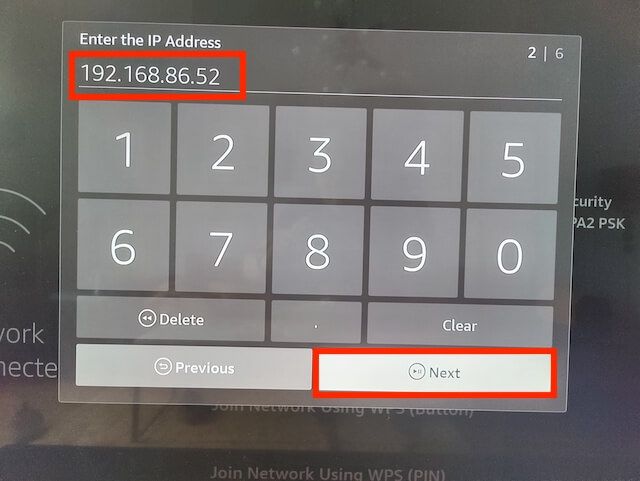
- You will now be asked to input the IP Address so enter the IP Address we made a note of in Step 6 and hit Next
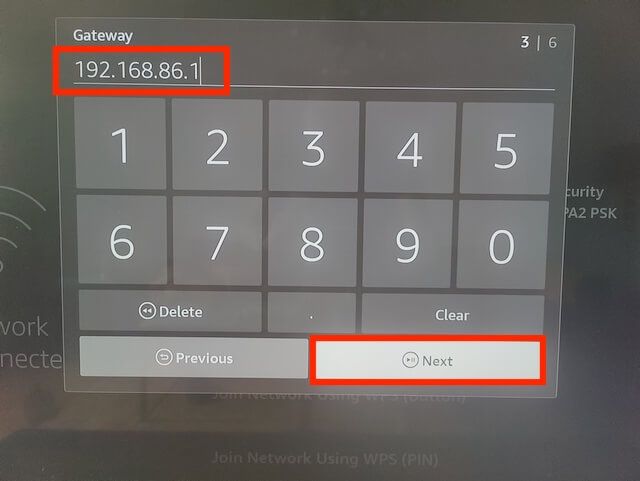
- You will now be asked to input the Gateway so enter the IP Address we made a note of in Step 6 and hit Next
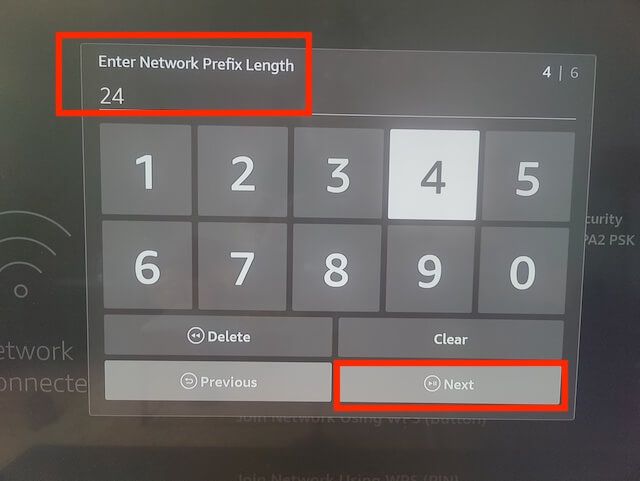
- You will now have to enter the Network Prefix length so enter 24 and select Next
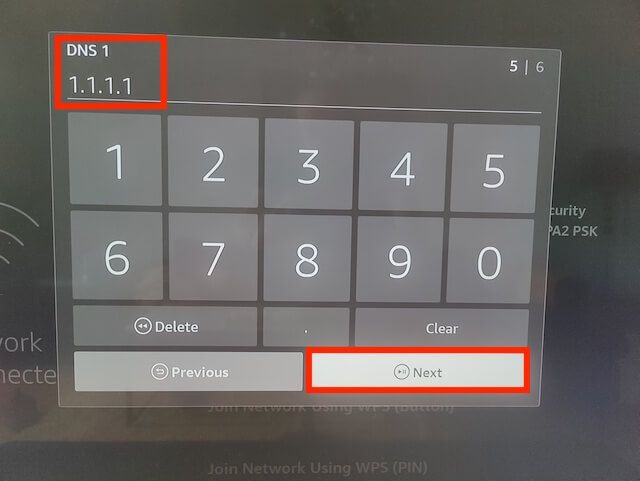
- You can now enter the DNS settings you wish to use. For my guide I am going to be using CloudFlare DNS but you could use Google's DNS or any you wish. So here we enter 1.1.1.1 and hit Next (if using Google you would enter 8.8.8.8)
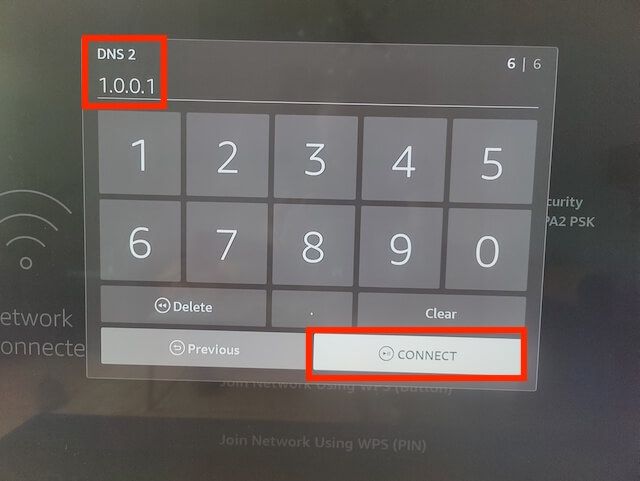
- Now we need to enter the second DNS setting so here we enter 1.0.0.1 and hit Connect (if using Google it would be 8.8.4.4)
- That is the process now complete. If you would like to check that your DNS settings have changed just go to your Home Screen and select Settings
- Select My Fire TV
- Select About
- Select Network
You can now see the DNS address your device is using