The guide below shows you how easy it is to change the appearance of your Kodi setup by changing the skin. Most skins are available through Kodi but there are mods of some of these skins which you will need to download manually and install as a zip file.
How to Change Skins on Kodi Jarvis
- Open Kodi
- Select SYSTEM
- Select Appearance
- Select Skin > Skin
- The next screen that appears shows the skins that you currently have installed. If you have never installed a skin then there will probably just be the default Confluence skin listed here
- To add skins to your device select Get More
- The next screen will list all the available skins
- If you know what skin you want just scroll down and select it. If you don't know then just try out a few to see which you like. For this example we will use the Amber skin
- The skin will now begin to download and install
- When the skin has finished installing you will be asked if you would like to switch to the new skin, select YES
- The new skin is now installed and applied
To tweak the appearance further go to:
System > Settings > Appearance > Skin > Settings
In there you can change what appears on the homepage, change the background, create a custom menu and much more.
How to Change Skins on Kodi Krypton / Leia
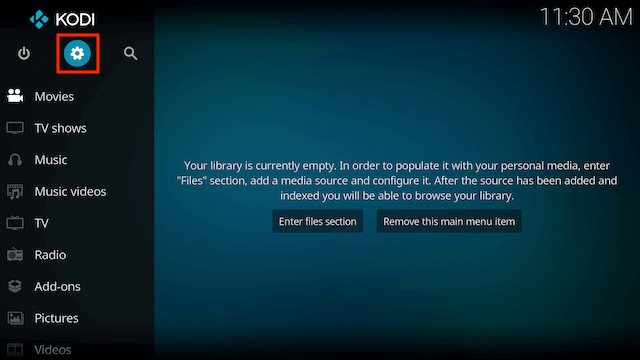
- Open Kodi
- Select Settings
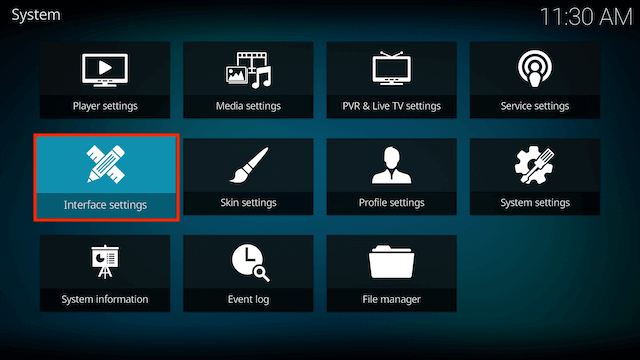
- Select Interface settings
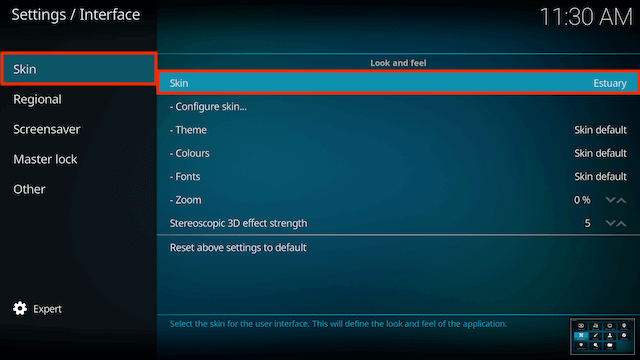
- Select Skin > Skin
- Select Get more...
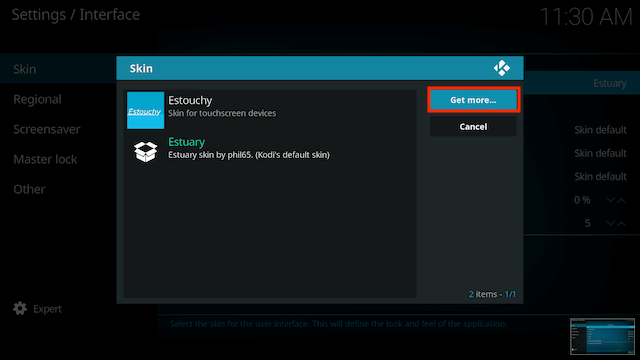
- You will now see a list of skins that are available
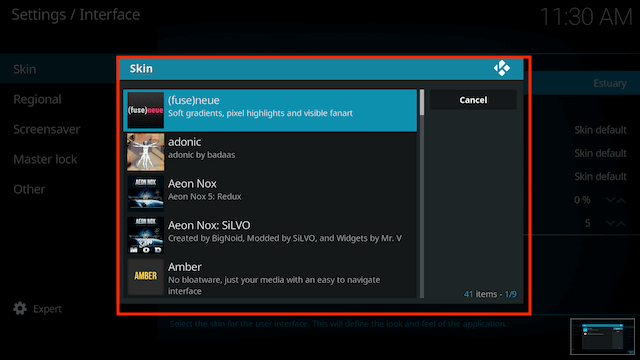
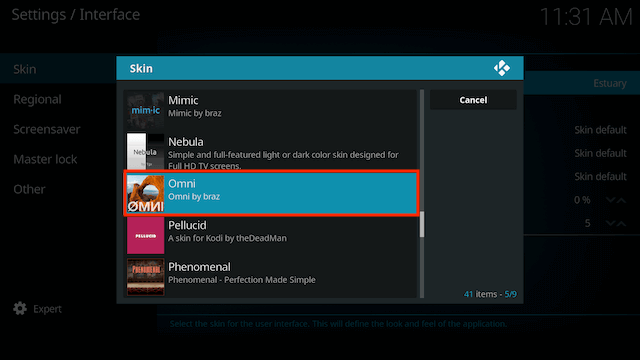
- Scroll through the list and choose a skin you want to install. Unfortunately there are no previews so you won't know what the skin looks like until you have installed it. You could always do an image search to see what the skin looks like online before trying.
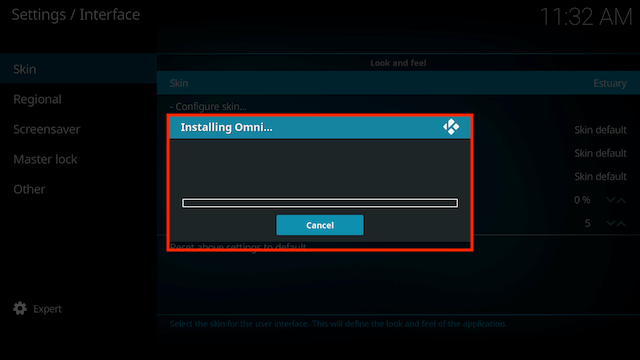
- The skin will now begin to install
- Select Yes when asked if you would like to keep the change
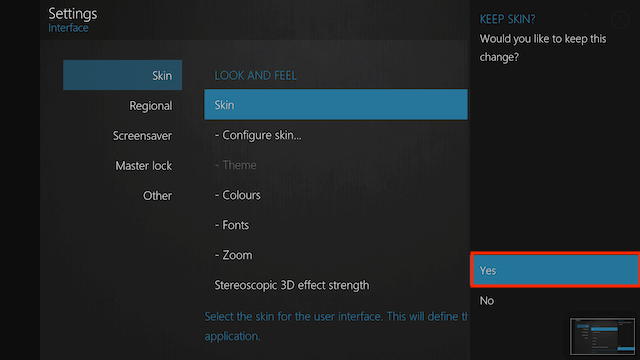
- Your skin will now be installed


